Manage user groups
You can create user groups in any of the organizations to which you have access.
Prerequisites
- You need to have the required permissions to create and manage user groups.
- Sign in to the relevant organization from the Management Console.
Create user groups
Follow the instructions below to create a user group:
-
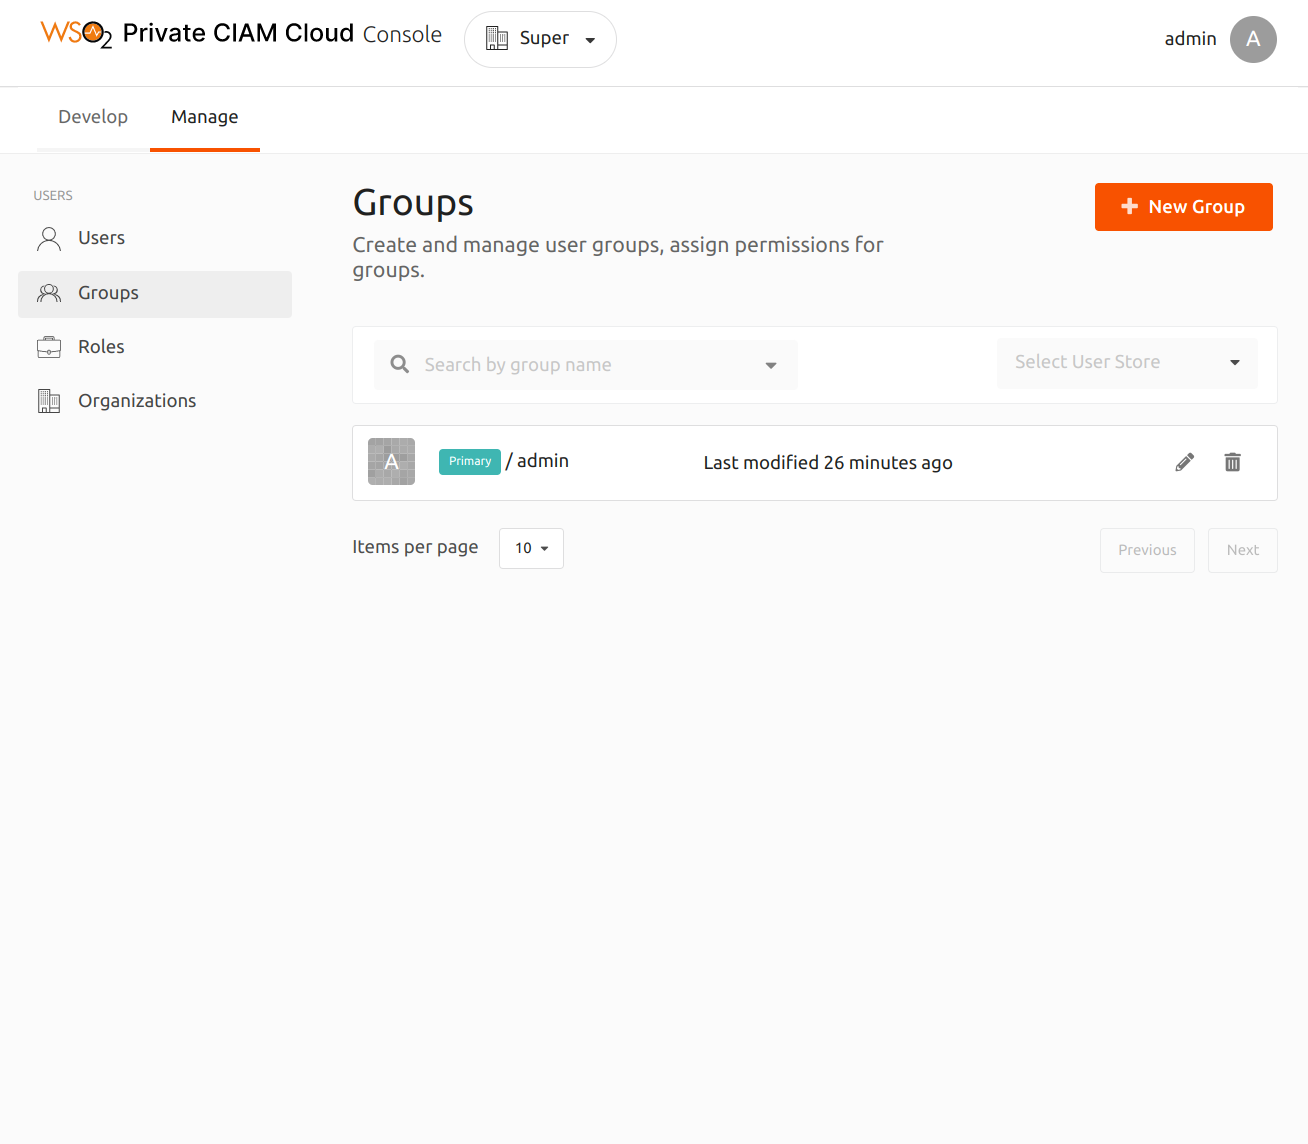
On the Management Console, use the Organization Switcher to select the relevant organization.
-
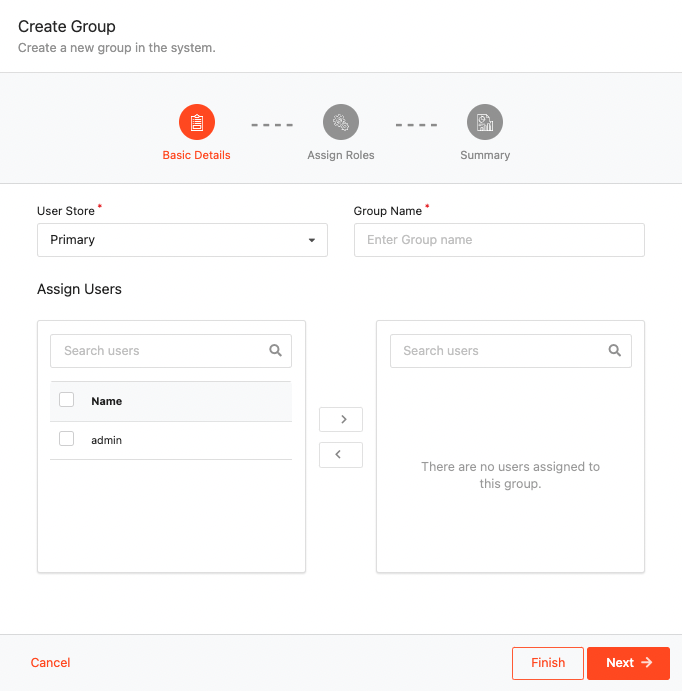
Go to Manage > Groups and click New Group.
-
Enter the group name and select the users that should be assigned to the group.
-
Click Next to assign roles.
-
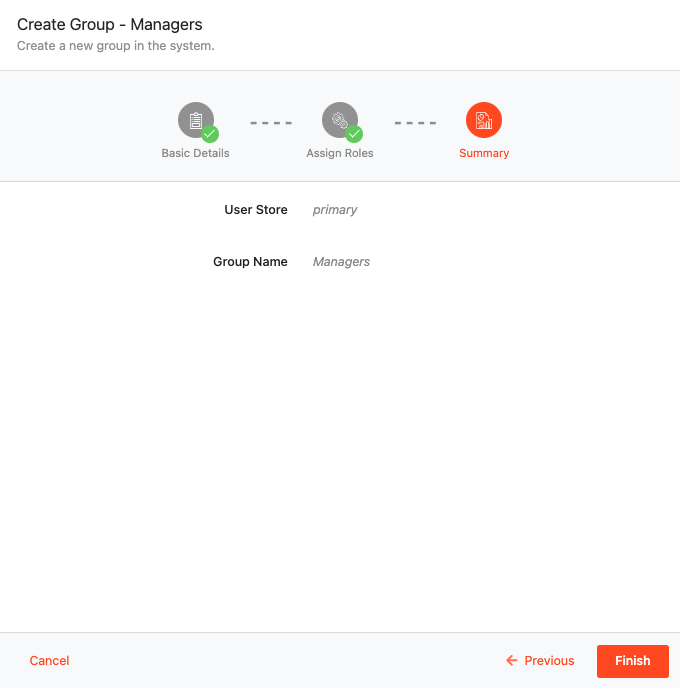
Link the required user roles to the user group and click Next.
Info
The user roles you assign will determine the permissions granted to the users in the group.

-
Review the details and click Finish to finalize the user group.
Edit user groups
Follow the instructions given below to edit a user group.
- On the Management Console, use the Organization Switcher to select the relevant organization.
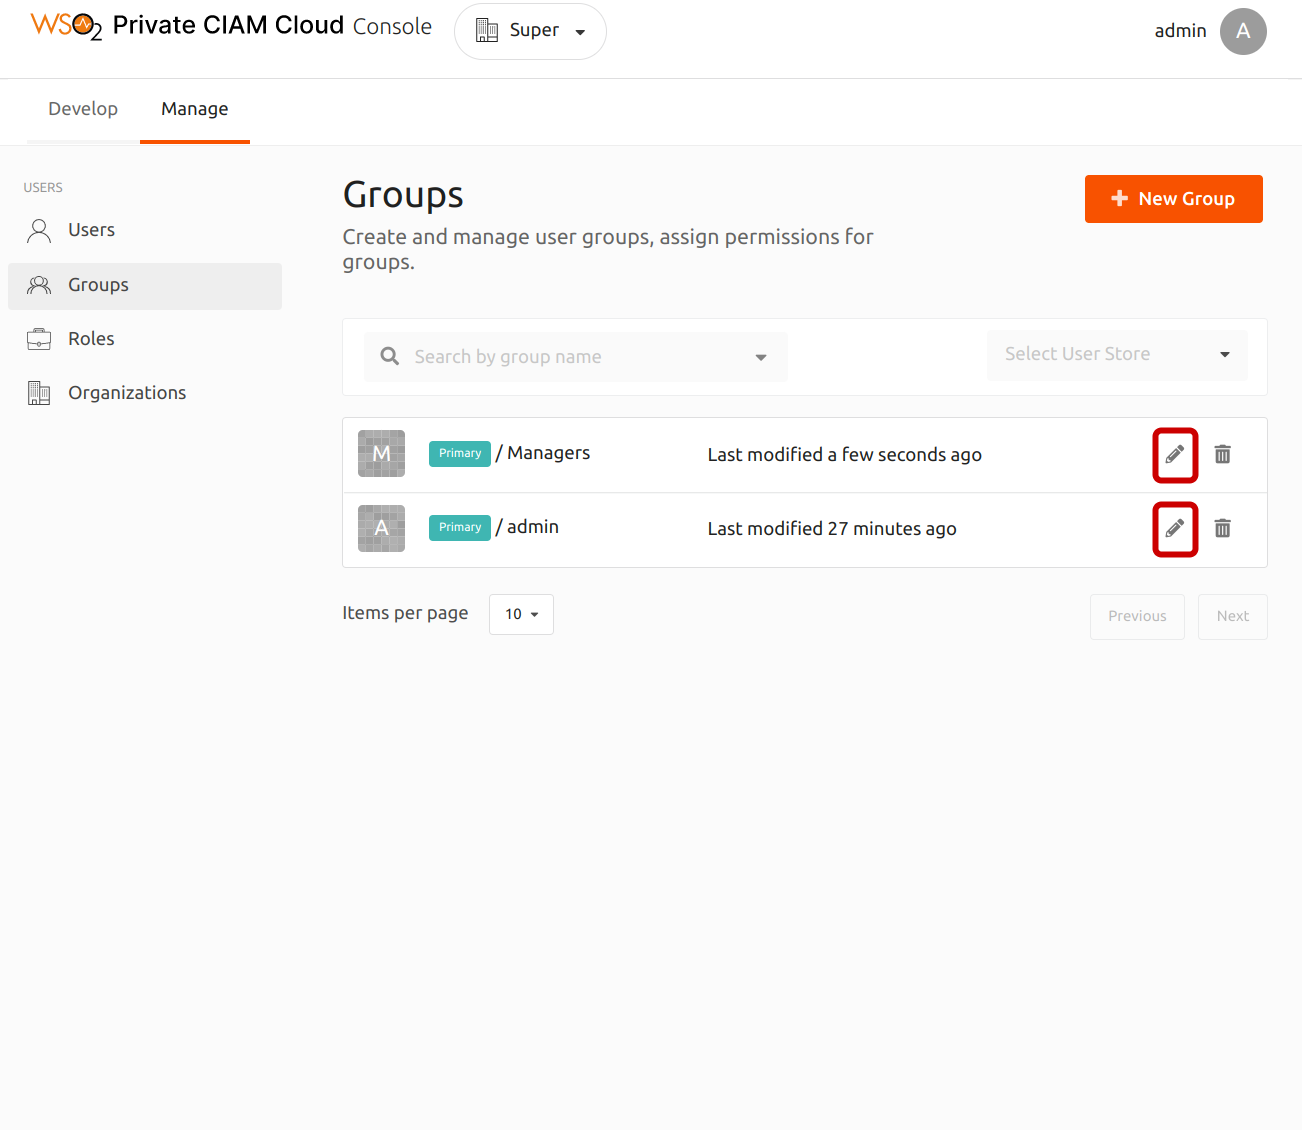
- Go to Manage > Groups to view the list of user groups.
-
Select the group you want to edit and click the pencil icon to open the group profile.
-
Change the basic info and users of the group.
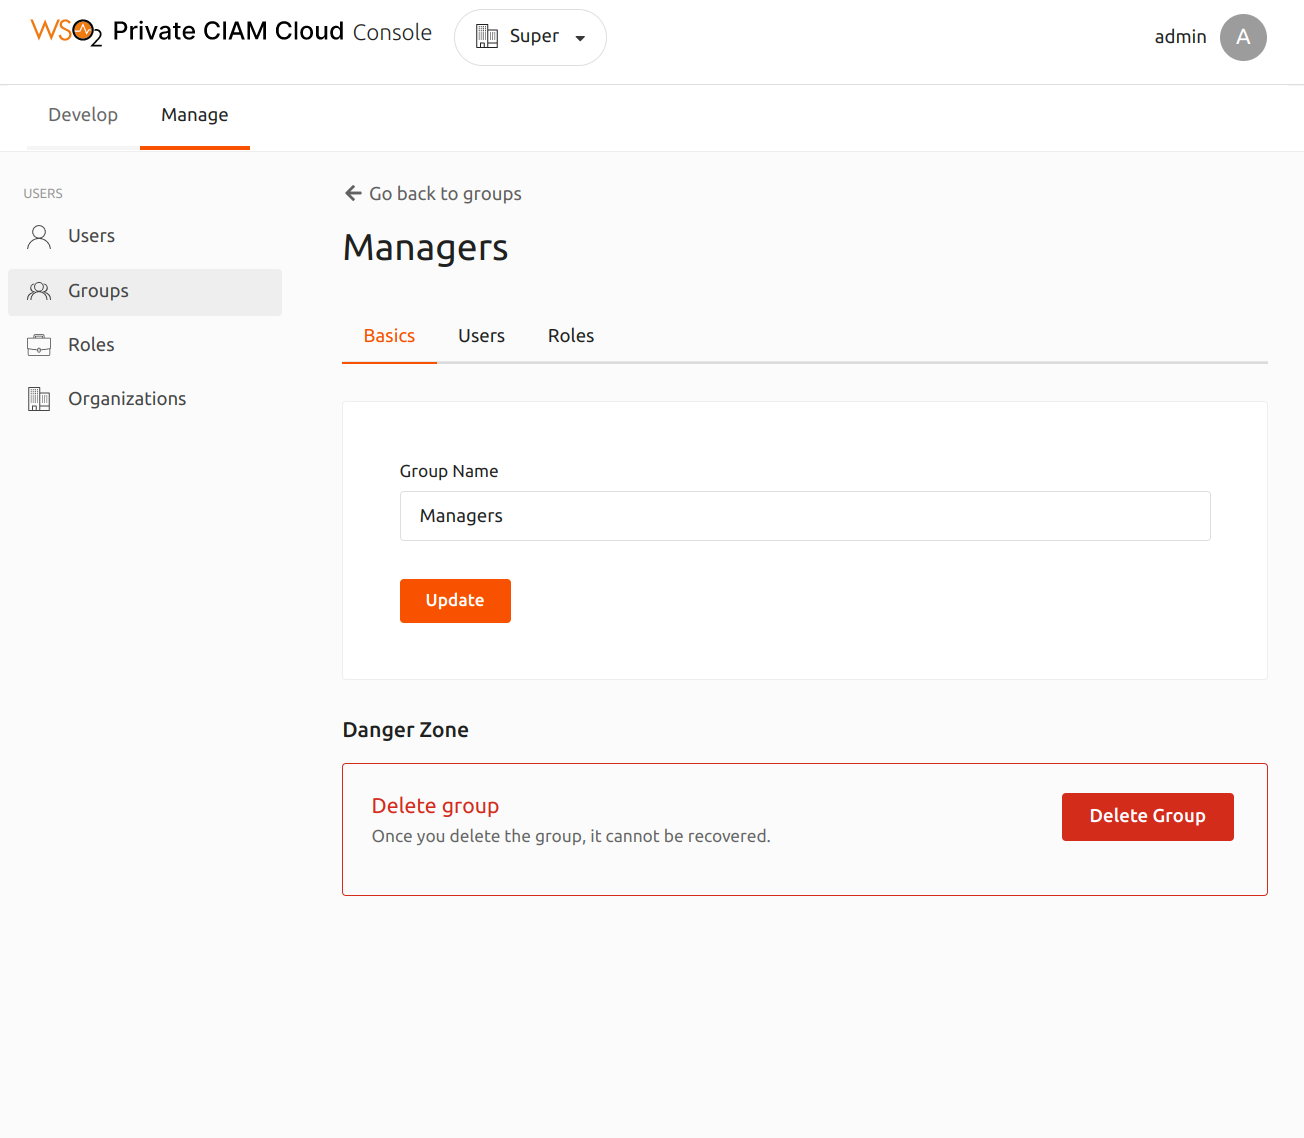
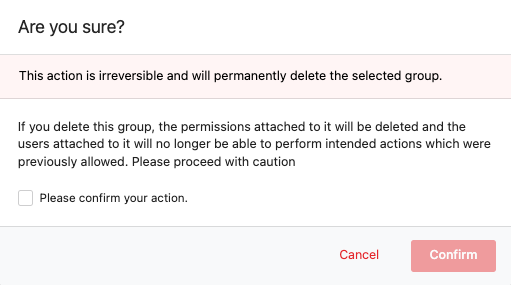
Delete a user group
Follow the instructions given below to delete a user group.
- On the Management Console, use the Organization Switcher to select the relevant organization.
- Go to Manage > Groups to view the list of user groups.
- Select the group you want to edit and click the pencil icon to open the group profile.
- Go to the danger zone and click Delete group.
-
In the dialog box that opens, confirm if you want to delete the user group.